The photos below were are from October 13, 2012. In the week or so that I was away from Townsend, Lenny and Mike were very busy. They completely disassembled the car taking the axles and wheels off of the frame and removing the motor and transmission. They took all of these parts to Lenny’s son’s business down the street where they used his industrial sandblaster to remove about 45 years of rust. Here is the frame, back in the shop with a coat of primer to prevent further rust.
Below is the motor, upside down…. It looks pretty good, but we’ll see later that there are some problems…
This is an up close view of the transmission. You can see an original “band” hanging. To try to explain how it works… okay, I can’t… below the photo is a link to really explain how a Model T transmission works.
Below here is a close look at the rear end. It’s an artsy photo… huh? The tires happen to be leaning up against the back. But you can see the axle housings and how the driver’s side axle extends out to the wheel hub.
This is a photo of the motor upside down above the front end of the frame. On the left you can see the emergency brake handle. below the frame you can see a very cool, aftermarket sling that helps support the motor. This aleviates some of the pressure on the drive train.
Head Out On The Highway…? Well the old ’23 ain’t ready for what Steppenwolf had in mind yet, but the car is running again!! While the professionals were getting the motor running, the lackey on Sabbatical was driving the parts to the tank in Worcester for rust removal. Below is a collection of videos showing what a great day the old T had on October 2, 2012!
We’re getting really close…..
It’s running and smoking and sputtering… and the temporary gas tank falls…. and Jim stops by. It’s not running well, though, and the guys aren’t sure why. My favorite part of this clip is Lenny trying to answer his cell phone. I think somebody was “butt dialing” him but it just made him angry. After the I turned the camera off he said, “I’m gonna throw this damn thing in the trash!”
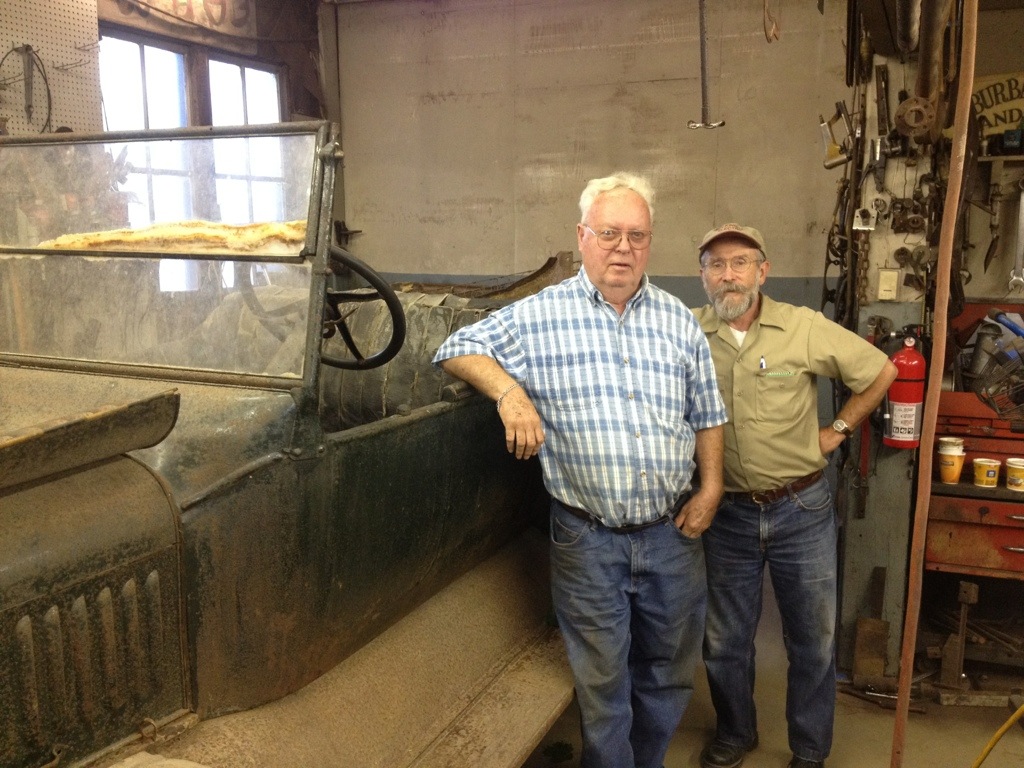
Above, we meet Jim. He is a Townsend policeman (originally from Ipswich, MA) with a Model T Depot Hack like the photo below. Lenny and Mike restored his car, and he stops by from time to time to check in and ask questions when he’s having trouble with his car… Nice guy.
In this segment, Lenny is testing the spark plugs as Mike turns the crank. At a certain point they get an electrical connection and they can determine which spark plug and coil is firing. The firing order is 1,2,4,3. It’s not right and they can’t figure out why…
In this clip above, Lenny and Mike explain a bit about how the Magneto and some of the electrical system works. The test will be on Friday.
This video was taken a the end of the day. After lunch, the guys figured that two of the leads at the generator were connected wrong. They spent some time figuring our which wires were which (difficult because the color coding was very difficult to decipher after so many years) and getting them correct. Although the motor started earlier, it was running on only two cylinders – and Lenny could tell by the sound!! So, once the wiring was corrected, they ran the motor for a while… and then waited for me to return from Worcester. This was how the day ended for me and the T.
While Lenny and Mike were doing the real work I had a nice trip through central Massachusetts to the city of Worcester and a company called Metal Strip of New England. The owner, Dan Augustino, is a very nice man who has been stripping rust from all kinds of metal with chemical baths for over 30 years. His business if the only one of its kind in New England. Below, Dan gives a brief explanation of how the process works. My apologies to Dan… for calling him Al. Ooops…. I will return in three weeks to gather the body pieces – all shiny and new!
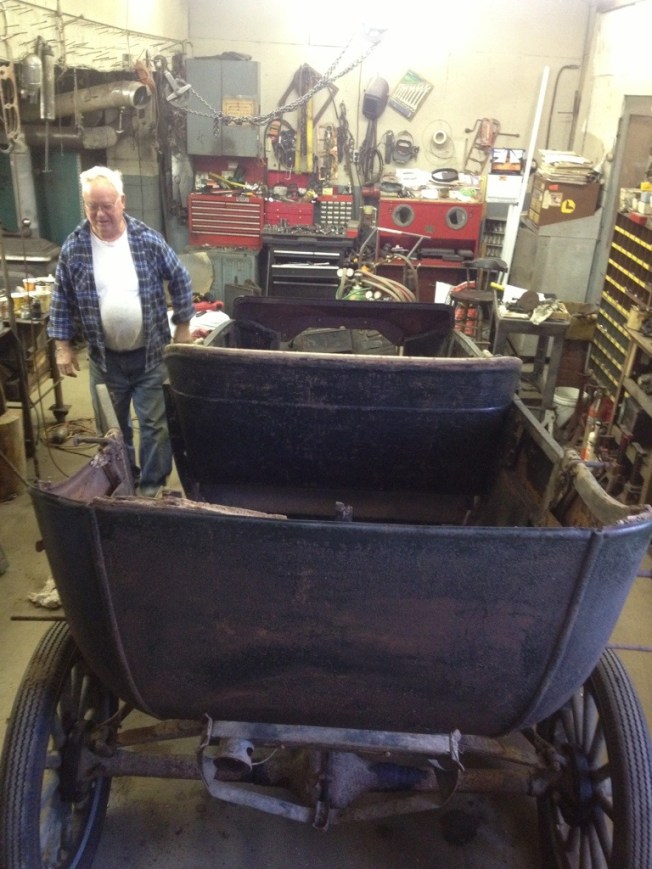
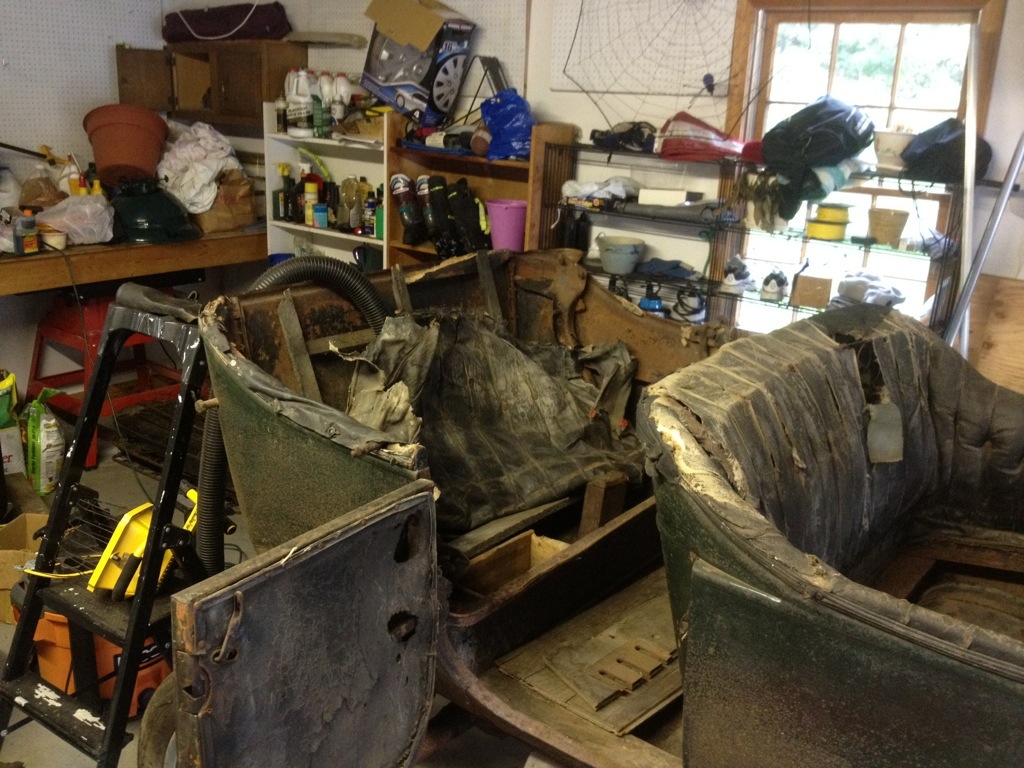
On Wednesday, September 26th I was determined to be on time, but as I was leaving my driveway – the lawn guy showed up and had all kinds of questions…. how hard is aeration? This only delayed my arrival in Townsend by 15 minutes or so but I had a sinking feeling that I would be late again. Sure enough, as I drove into Smith Farm there was my car – well the top part anyway – in the driveway! Mike and Lenny had fired up the tractor and lifted the body right off the frame and plopped it in the driveway. I asked Mike what time they started work and he said, “oh, I dunno… some time ’round eight, I guess.” “But Lenny told me to be here at nine, ” I replied. “Oh no, you gotta get up earlier than that. Lenny’s up at five” he said. “Well how come, he told me to be here at 9am, then” I asked. “Well, you’re on sabbatical, Bob, Lenny doesn’t want you to work too hard!” was the final word…
Well…here’s what my well rested body found: the body of the car, upside down and waiting for the wooden sills to be removed.
The wooden sills run the length of the car and provides the basic structure for the car. The frame bolts into these sills. The wood was important back in the day as it gave the cars some flexibility – which was really important as folks drove the cars through fields, up mountains, and on rutted dirt roads.
Here are a couple of shots of the frame without the body on it. Above, Lenny was explaining a bit about the rear end. You can see the differential in the middle (with some oil dripping out – thanks to my brother Dave uncle Jack who did some minor maintenance to it 25 years ago). You can also see the inside of the left rear wheel where the brakes are . There’s other important stuff here that I don’t know about yet…
Below is the front of the car. The gas tank on the right, the transmission (with a light on it), the emergency brake sticking up, and the engine with the firewall resting on it. All of this is quite rusty and will be brought down the street to Lenny’s son’s place where there is a sand blaster. We’ll get the rust off and then paint it all!
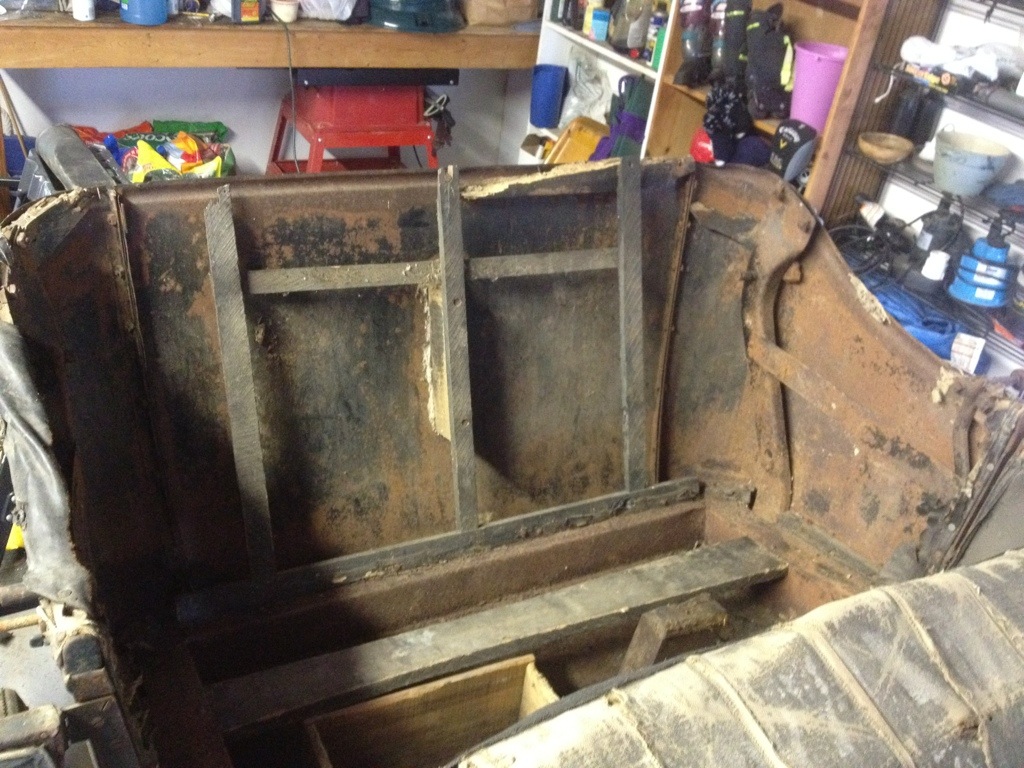
Above is a good view of the difficulty we had getting the wood out of the car. It was amazing how many wood screws, carriage bolts, and nails were used in the wood. Once we got rid of the sills – with the use of a sawzall and various other pulling and cutting tools – the back seat came immediately detached. This is how Ford made pick-up trucks, or coupes… they used different back sections!
Now that most of the body has been removed and taken apart. We have made plans to take all of the pieces to Worcester where they will sit in a chemical bath that will remove all of the rust. Below are some of the smaller pieces….
The next two photos show how the steering wheel is removed from the column. Lenny used a “puller”. Cool Tool.
As I pulled into Lenny’s garage on Tuesday, September 25th at 10am (an hour later than instructed) I was surprised to see him driving out. I figured he had to run an errand and I would wait for him. As I parked the car he drove up behind me and got out of the truck. He had a friend with him and Lenny’s wife and another woman were also there. “You’re just in time for a coffee, Bob. Your timing’s terrific.” I peeked into the garage and immediately could tell a bunch of work had already been done . I am beginning to realize that Lenny is an early riser! He introduced me to Mike Fortunado and his wife and before going for coffee showed me what they had been up to.
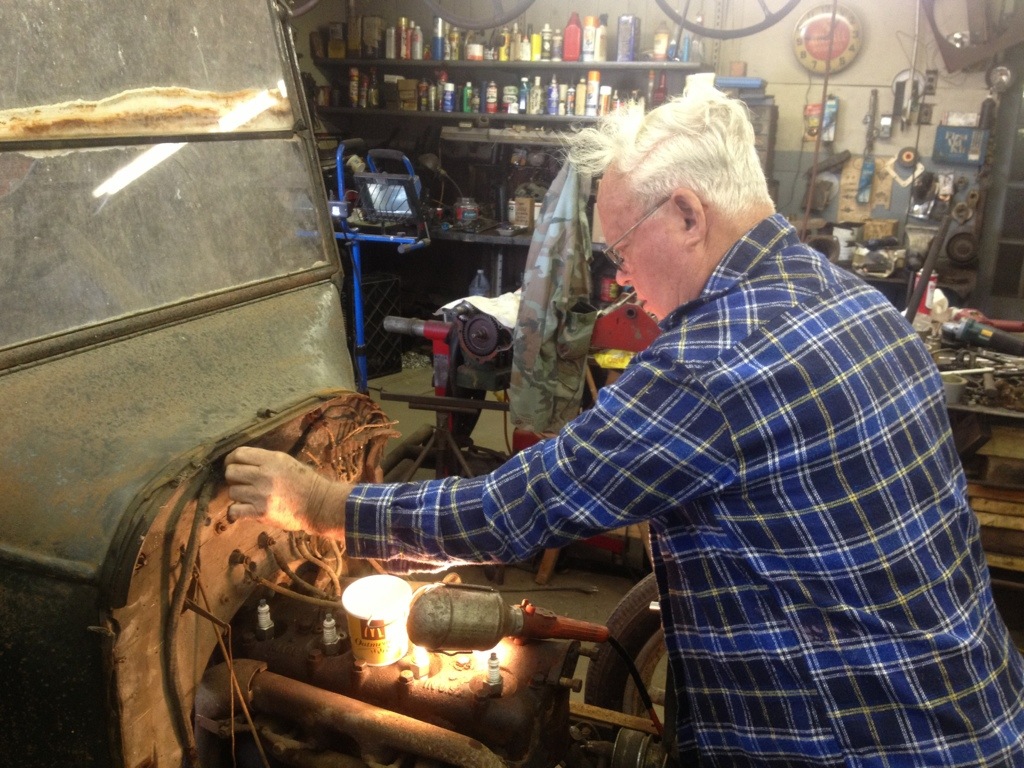
Below you can see that the hood has been removed – as had the headlights, radiator, fenders and a couple of the 8 bolts that hold the body on to the frame. Here, Lenny is working on the firewall – which separates the engine compartment from the front passenger area. It does very little to protect the driver from viruses though. McDonald’s oatmeal cups make great storage containers for nuts and bolts.
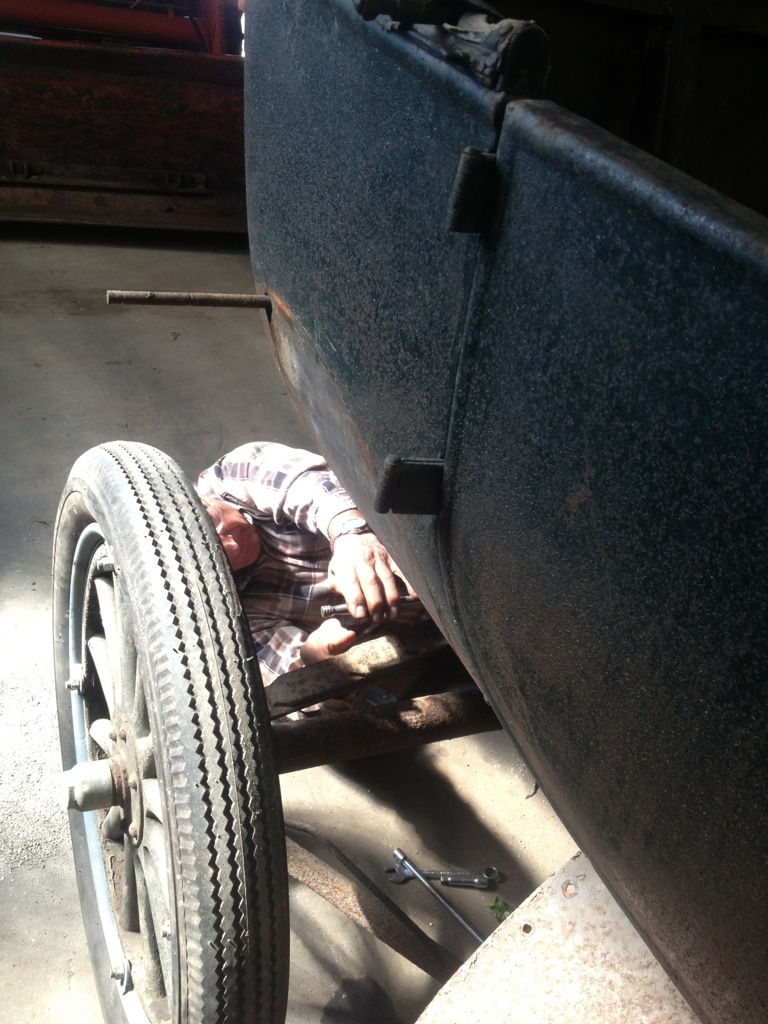
Mike is a retired machinist and metal fabricator who has been working with Lenny to restore Model T’s for over 15 years. He’s fit as a fiddle and another fountain of knowledge on restoring these cars. He’s also a patient teacher teacher. He has answered all of my ignorant questions so far! Above, he’s working to remove one of the frame bolts at the back of the car.
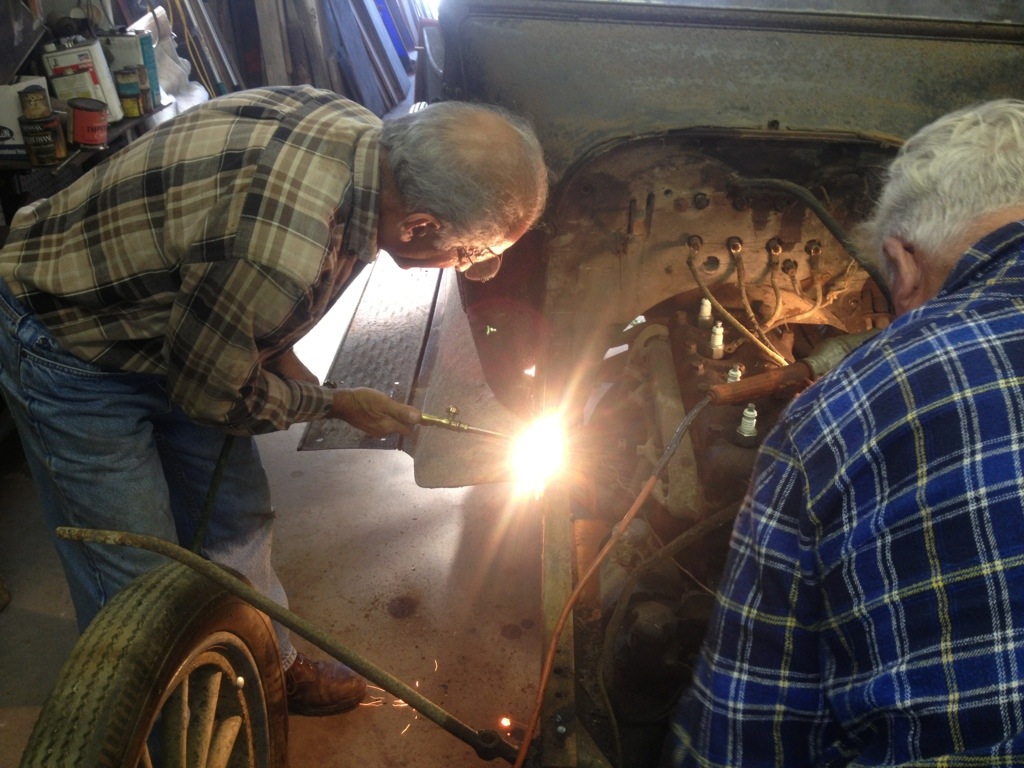
Many (or most all) of the nuts and bolts that hold everything together are rusted frozen. But with the help of some lubricant spray called PB Blaster – also referred to as “juice”, and “weasel piss” – many of them will come loose. Those that don’t, can be drilled out or torched. Above, Mike is using the torch to simply burn a carriage bolt off…. and in the process the firewall caught on fire! Weasel piss is not used to extinguish fires, by the way.
;
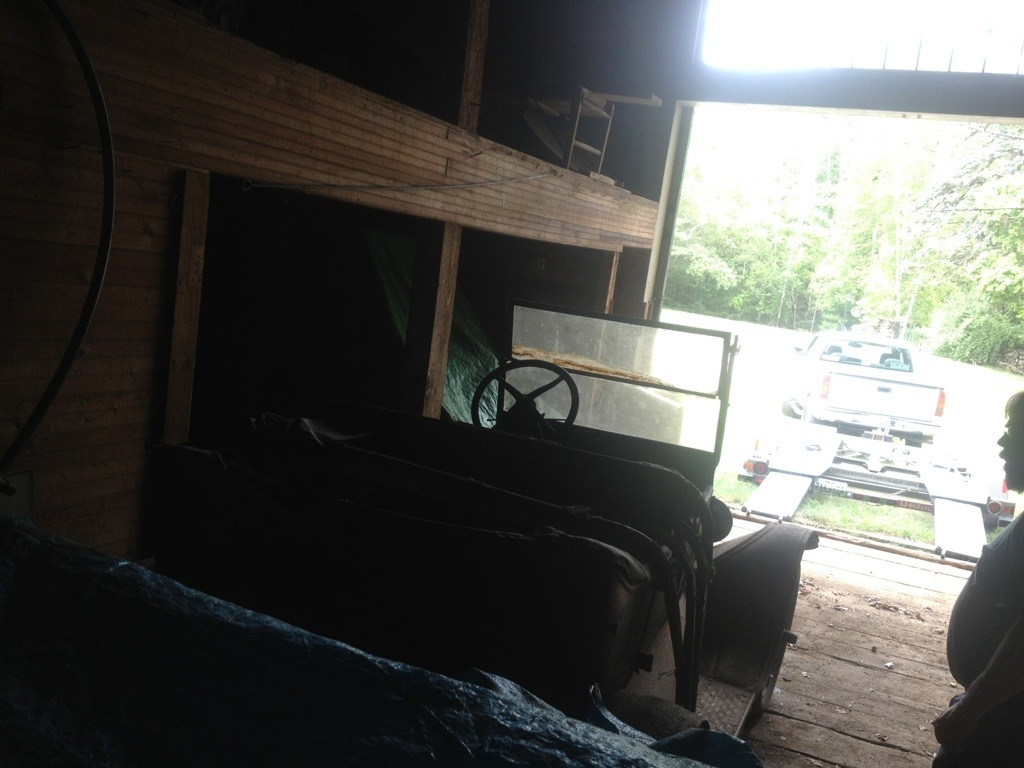
The next challenge was to remove the steering column. Okay… sure, easy right? Not quite.. but these guys have very little difficulty. It’s just a couple of bolts…. The video below shows the beginning of the process.
;
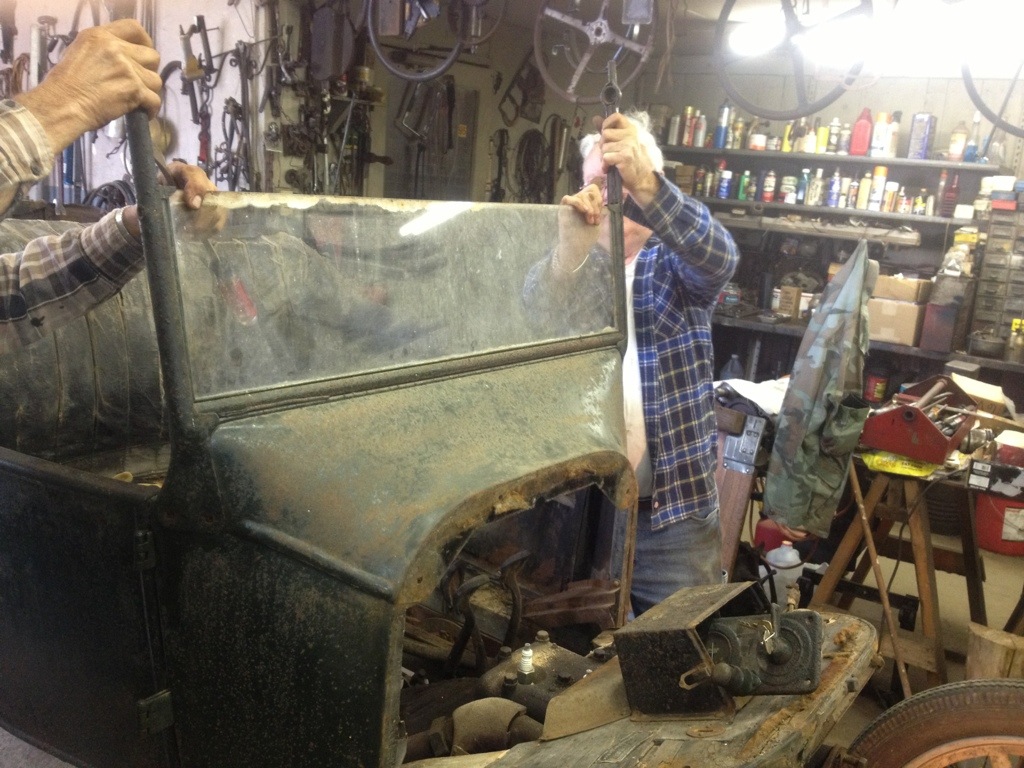
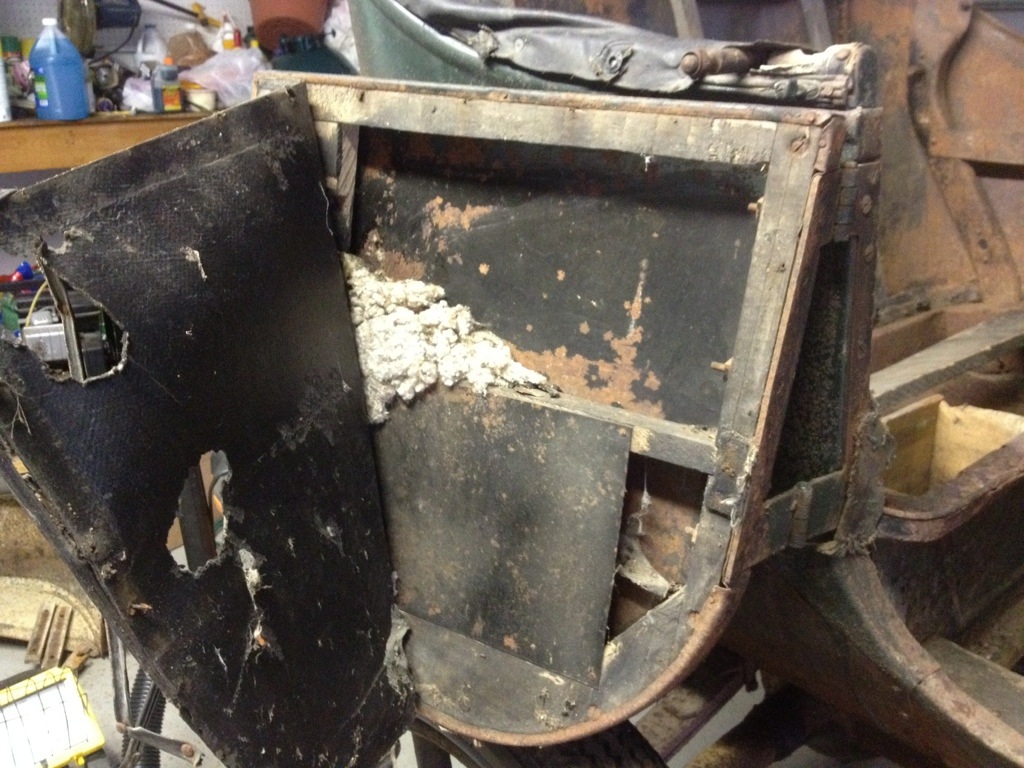
The windshield was next. Above you can see the two square holes where carriage bolts were used to attach the windshield frame. Below Lenny and Mike are working to remove the frame. You can also see that the firewall has been unbolted from the cowl. The box you see is where the coils go. The controls from the dash board are sitting in the coil box. I’m not sure where the CD player and integrated GPS went…
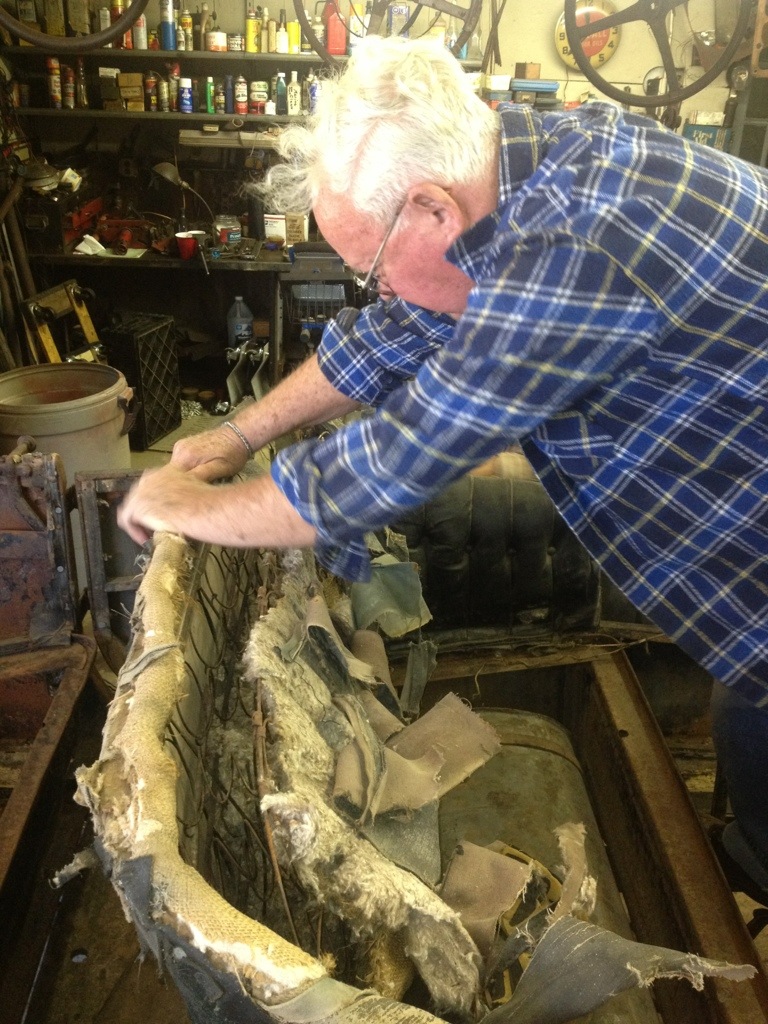
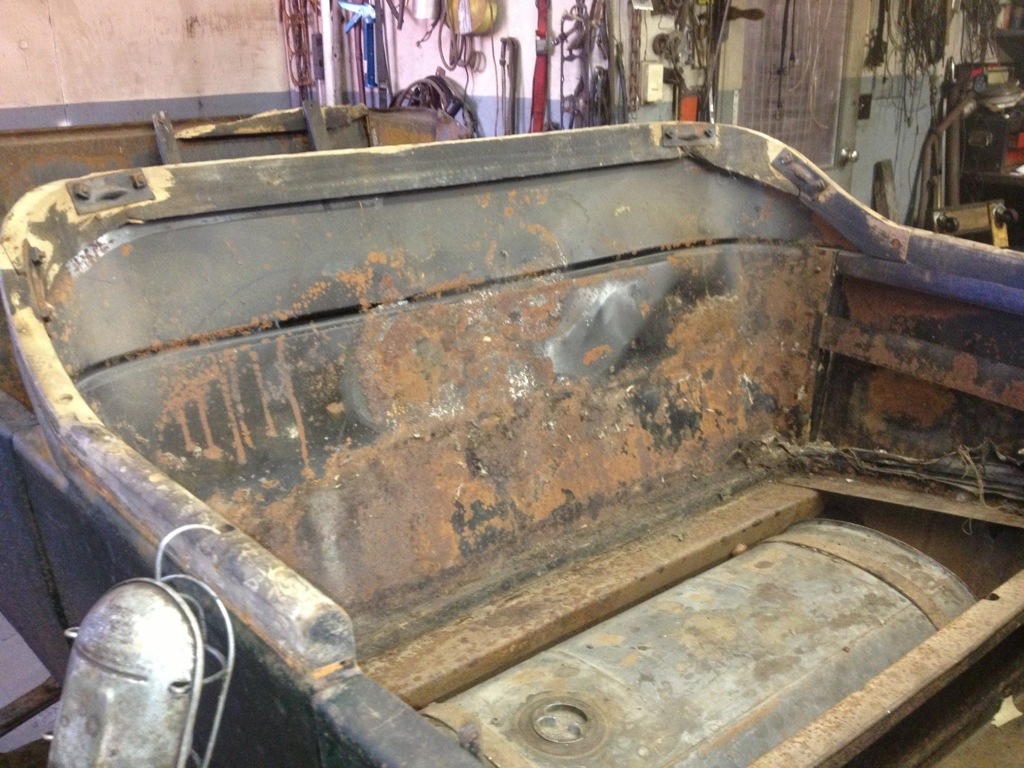
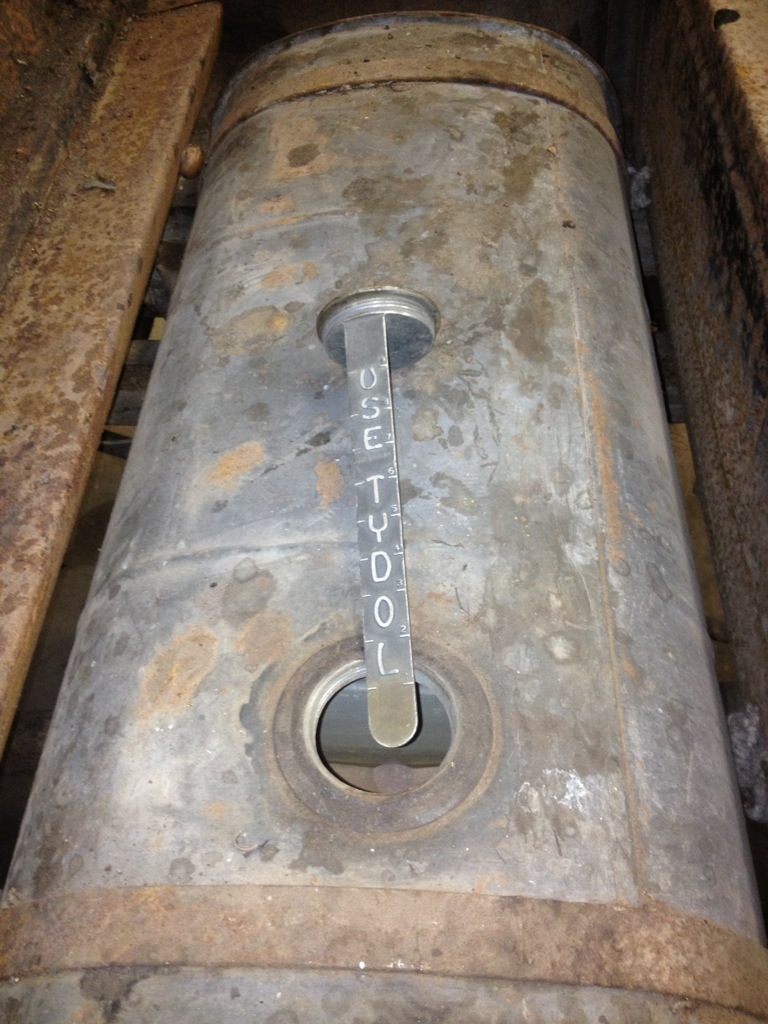
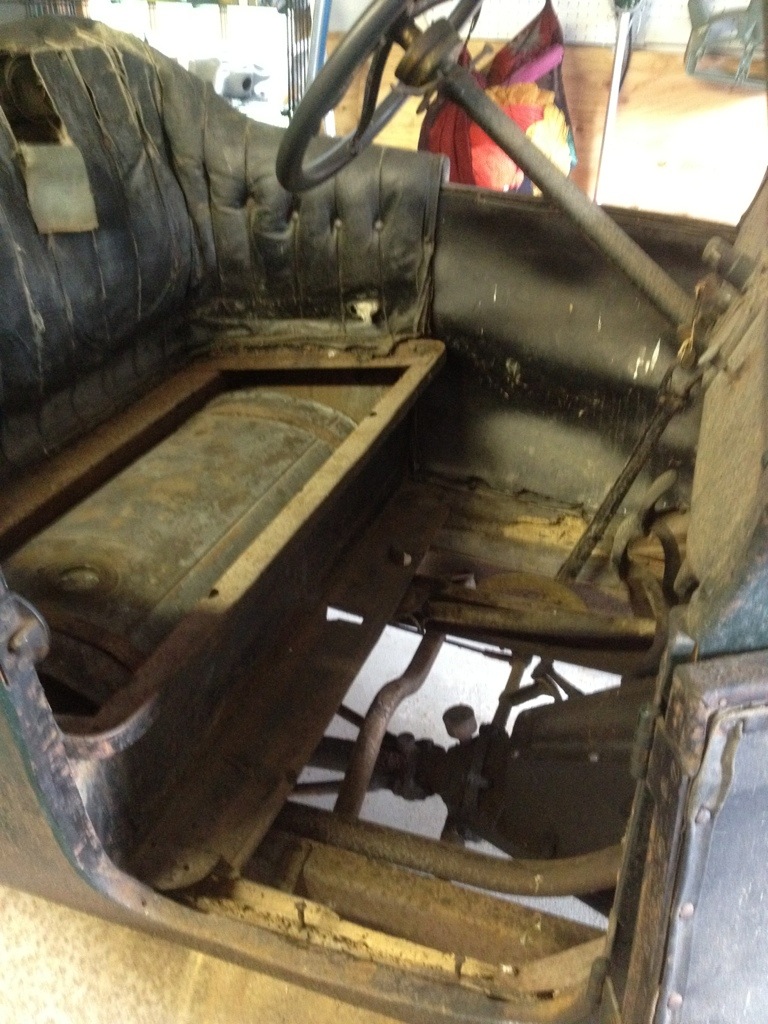
Next, It was time to remove the rest of the upholstery and the seat back springs from the front seat. More nests from mice and rats here!! The 84 year old mechanic has no trouble ripping out the 89 year old Corinthian leather. Below the upholstery is the gas tank. Interesting, isn’t it, that the gas tank is located under the driver’s seat. Probably this is why Henry Ford didn’t put an ash tray in the dash…
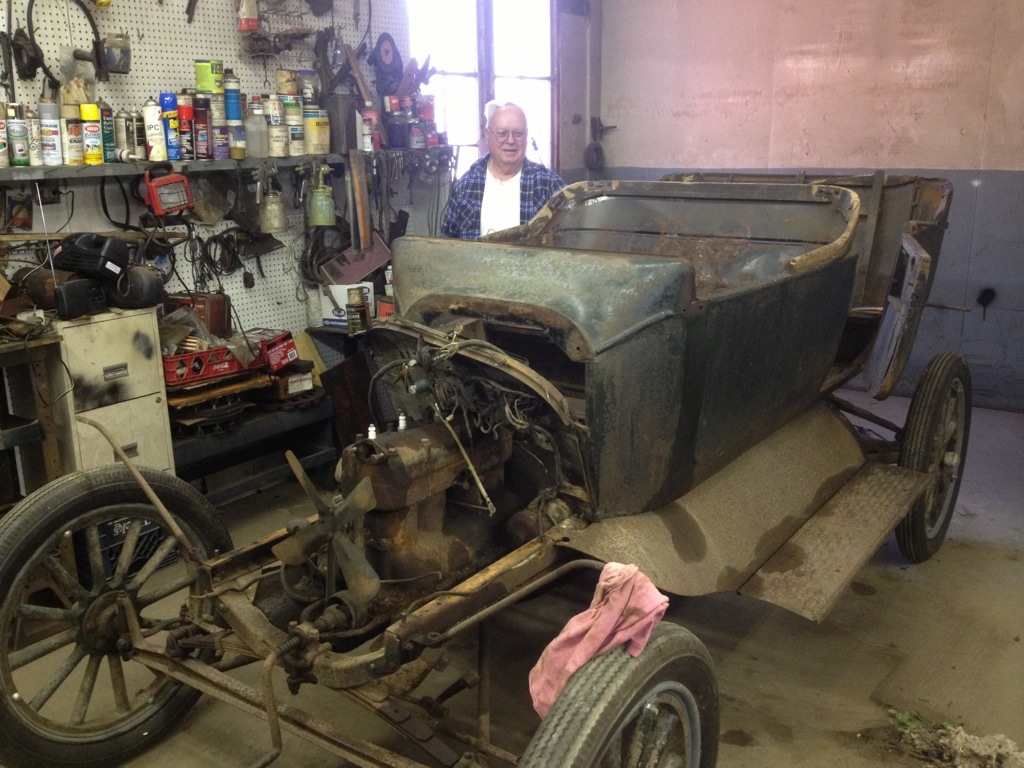
This is a good view of the front of the car, now. No radiator (which has to be replaced as there was nests in it as well), no steering column, and the firewall is loose. We haven’t removed the wiring, as Lenny thinks we can get the motor running still…. maybe?
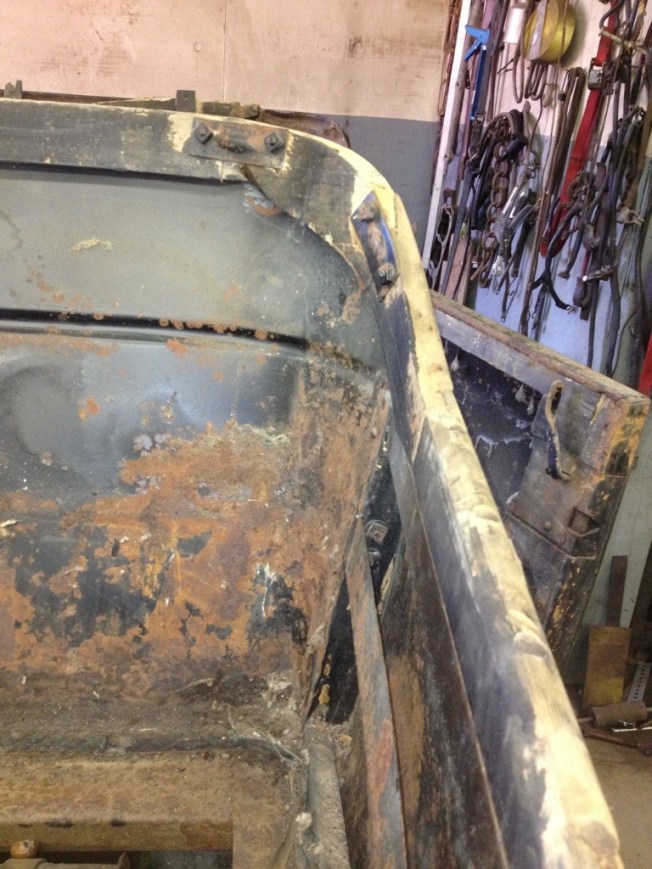
The photos above and below are of the wooden “belt rail” around the front seat. This wood is in terrific shape and will not have to be replaced. This wood gives the sheet metal some structure and strength and is what the upholstery is tacked to.
The gas tank came with a very cool and rare gas gauge. The jury is still out on whether we can use the tank, but the gauge is definitely a keeper!
At the end of the day, both the car and Lenny are looking a bit tired. Lots of pieces came off the car today. Let’s hope we can figure out how to put the puzzle back together later on!
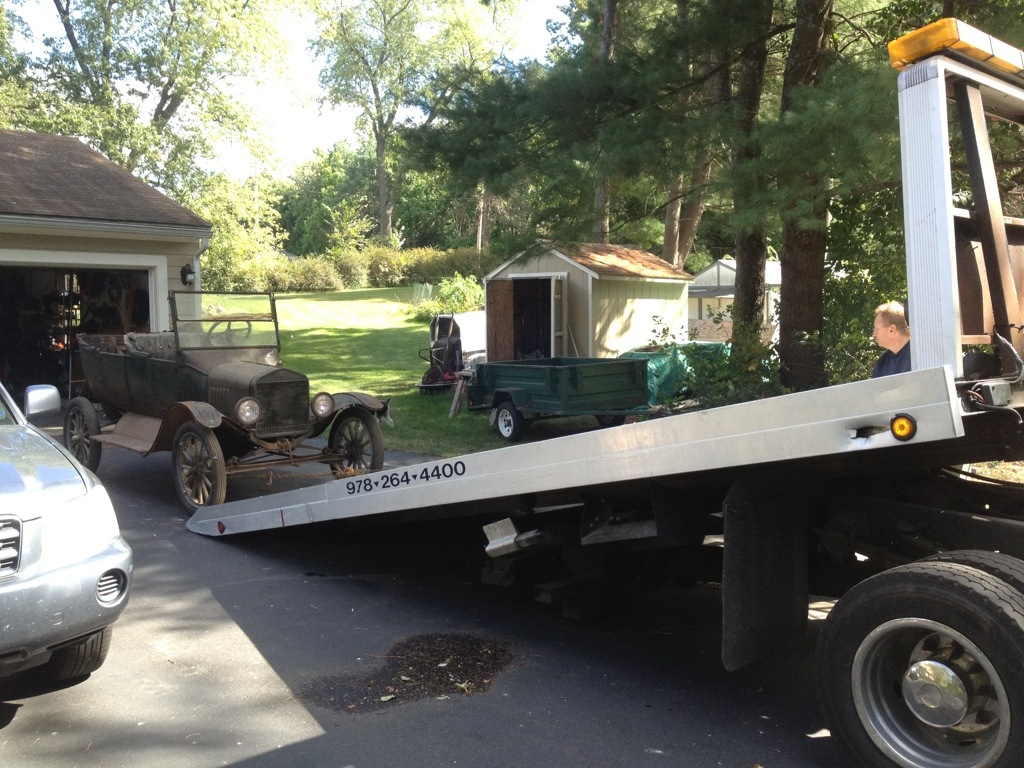
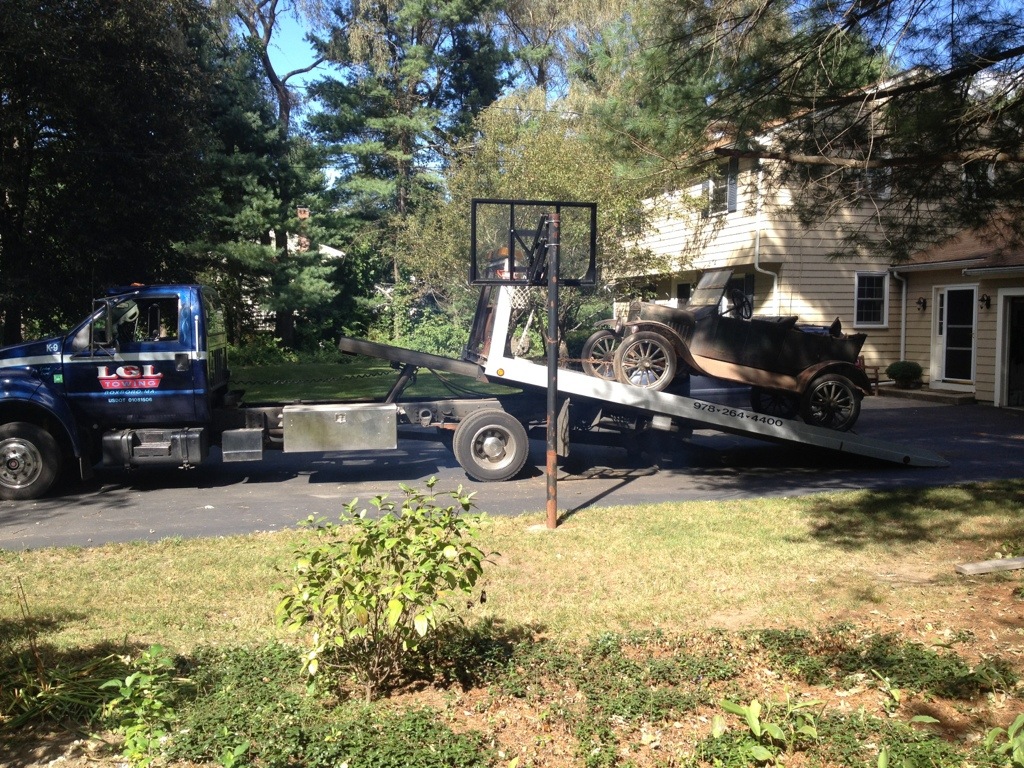
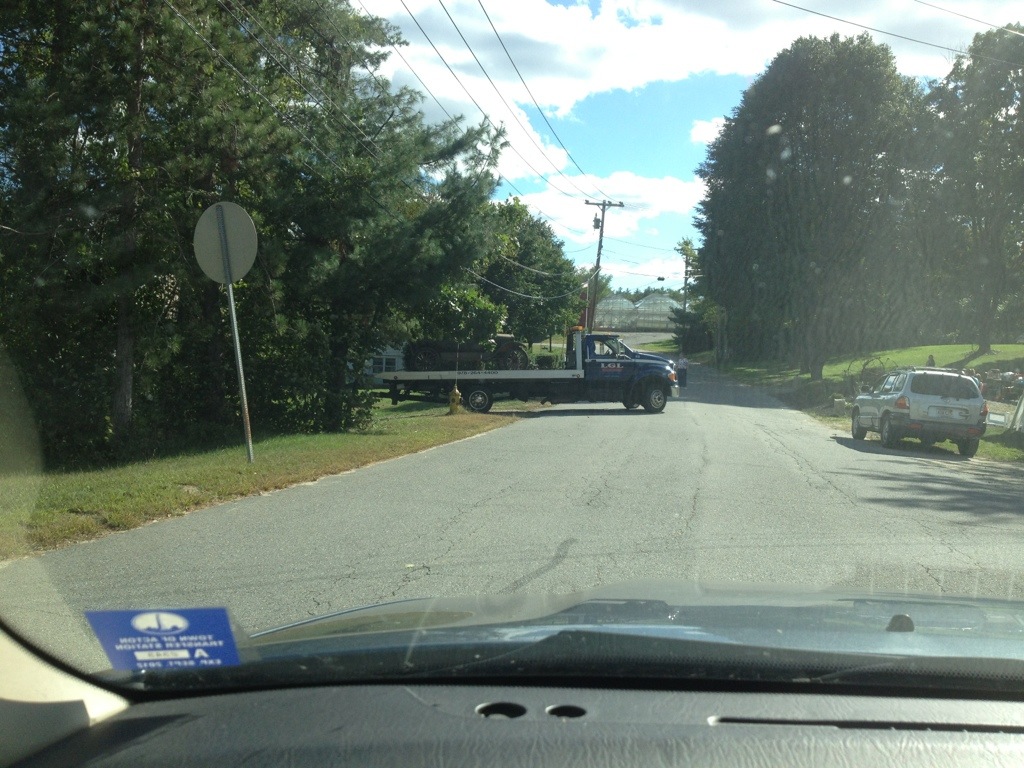
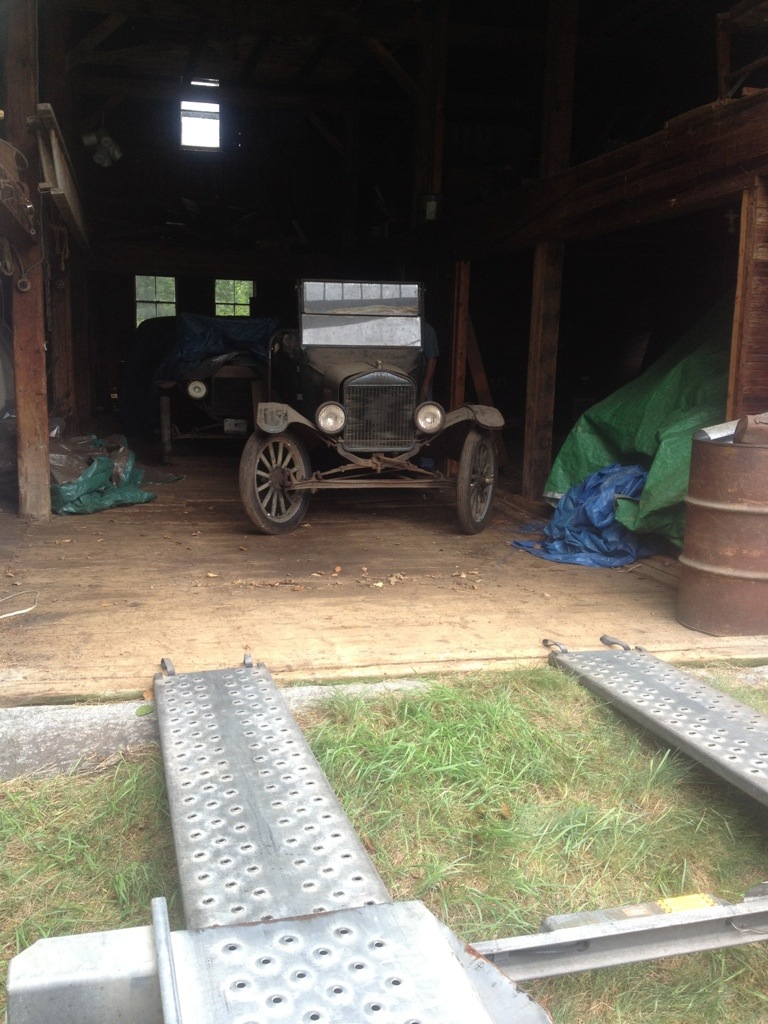
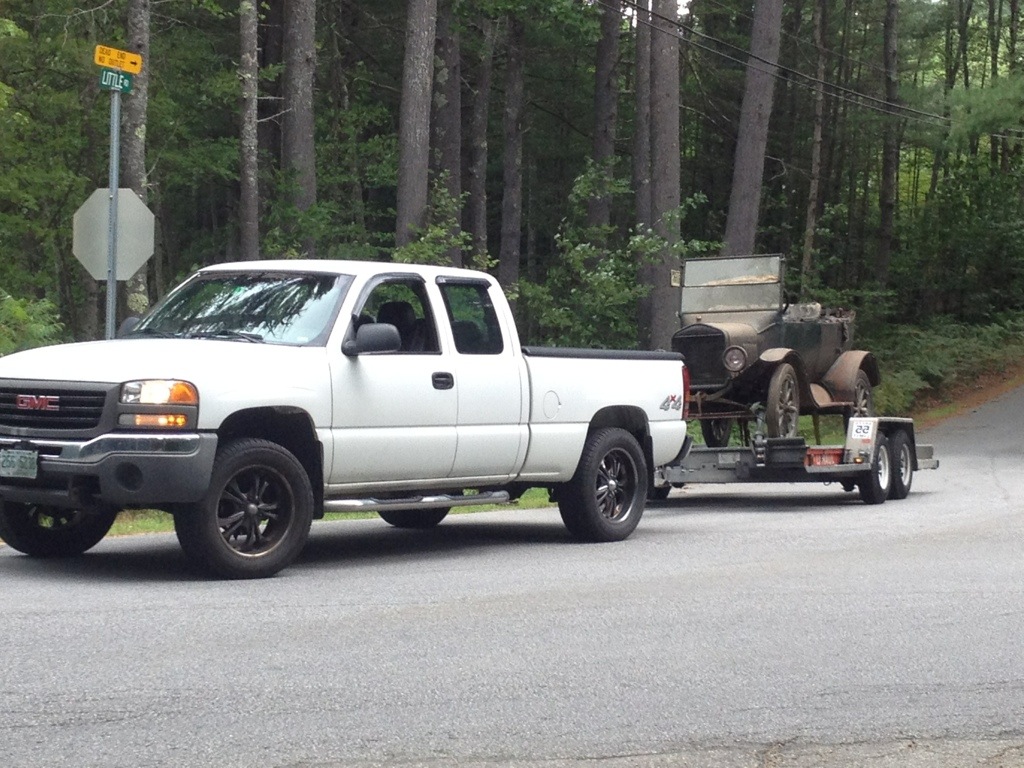
On Saturday, September 15 the car went to its new temporary home in Townsend, MA. Lenny Smith and Bill Harper have agreed to lead the restoration work. They are two of the most knowledgeable model T mechanics in the country. They were pleased with the general condition of the car and actually excited to see what good shape it’s in. No promises offered, but there is lots of good hope. Serious work will begin in the middle of October when Bill’s schedule frees up.
Gary from LGL Towing in Boxborough, MA did the heavy lifting to get the car to Townsend. He’s a great guy and a pro. If you need a tow in the Acton-Boxborough area call 978-264-4400
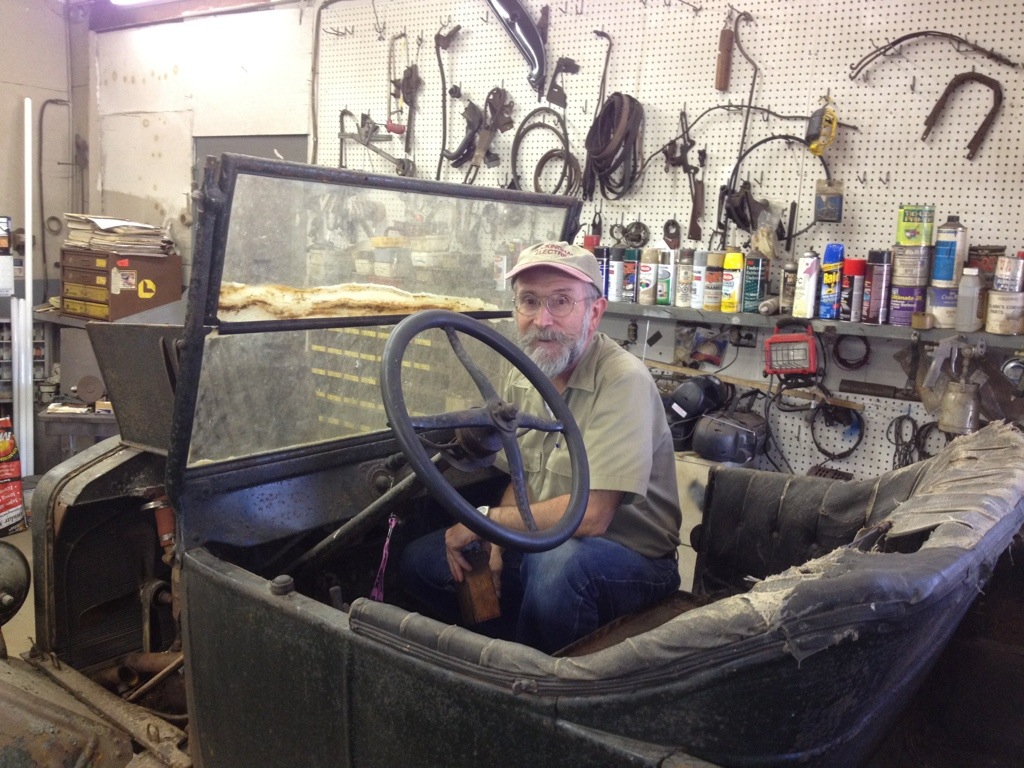
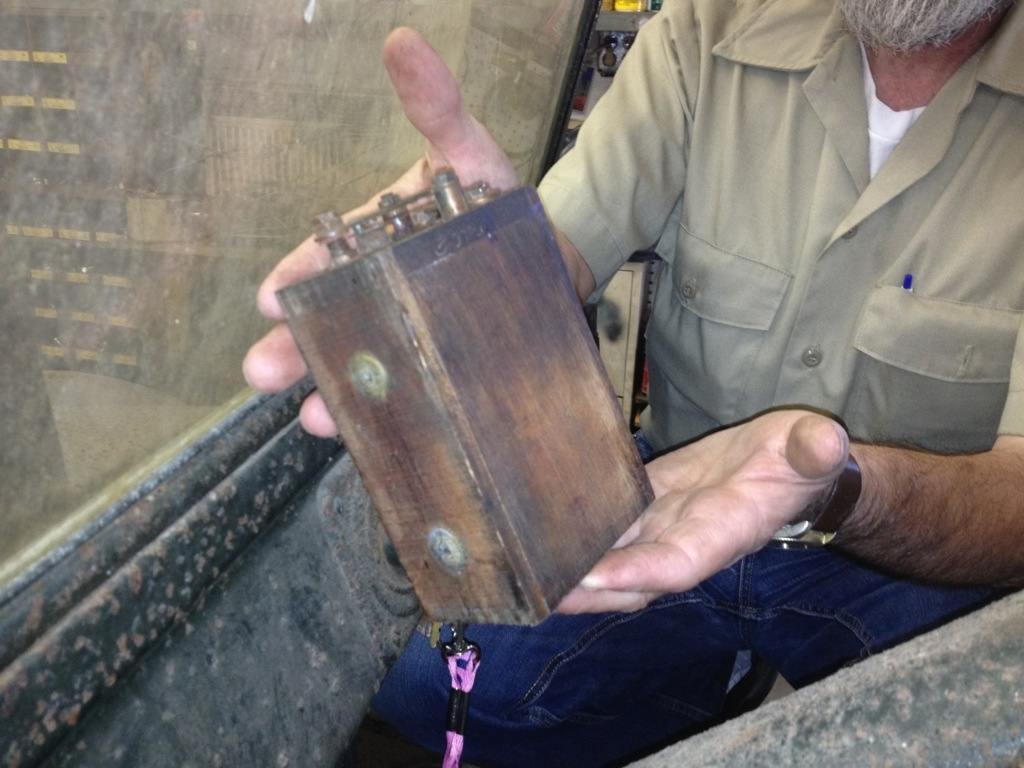
This is Bill Harper – perhaps the most agile 58 year old guy you’ll ever meet. He removed the coils and patiently explained to me what they do…. I’m still not sure I understand, though! But Model T’s all have little wooden boxes like these that are part of the electrical system.
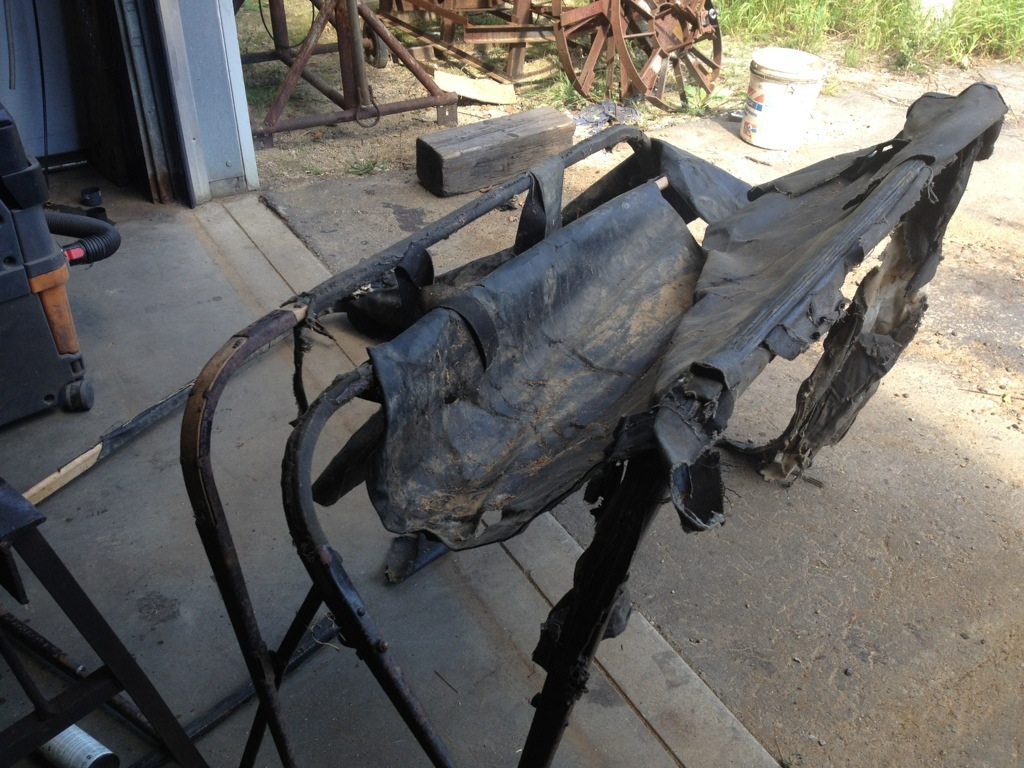
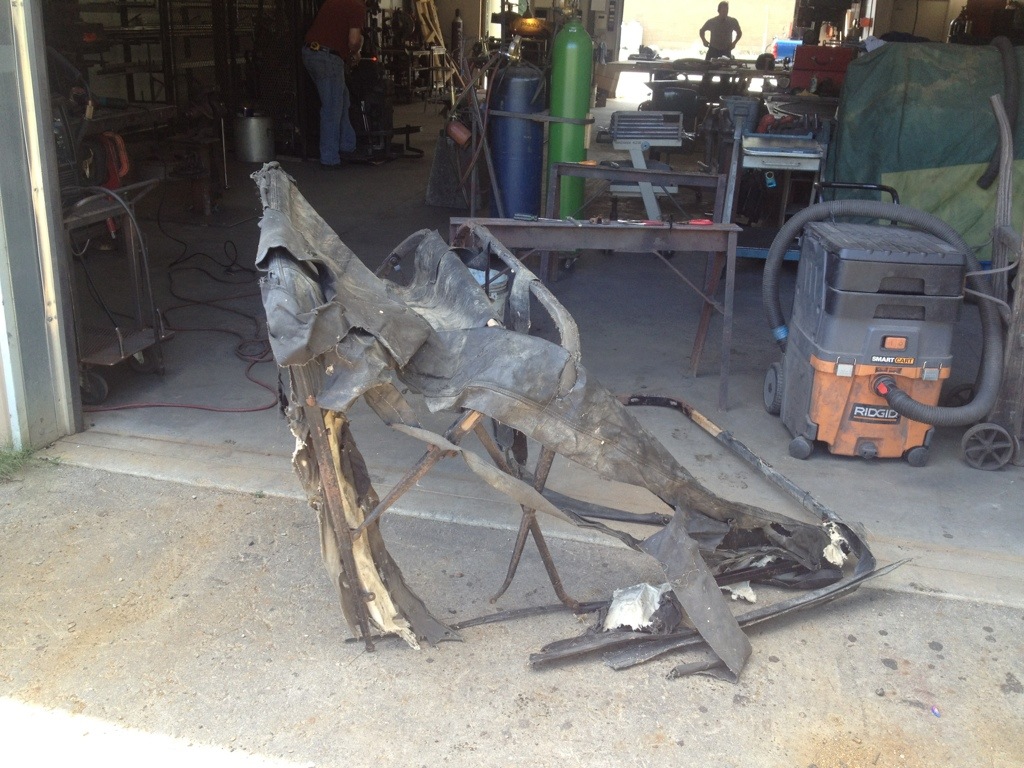
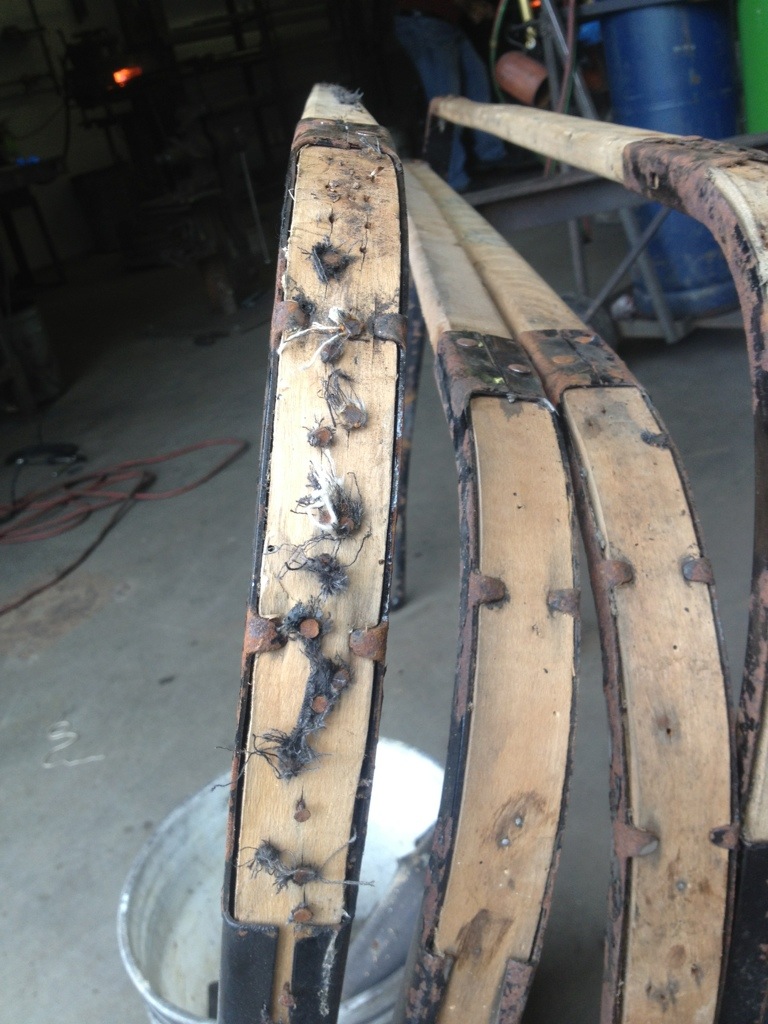
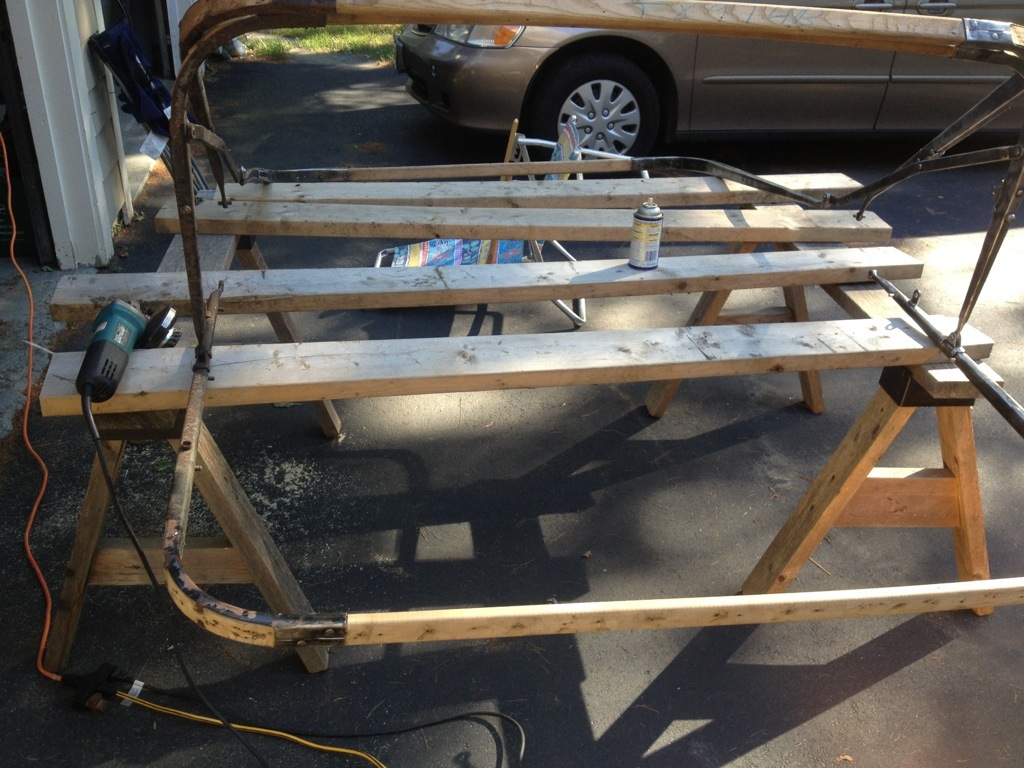
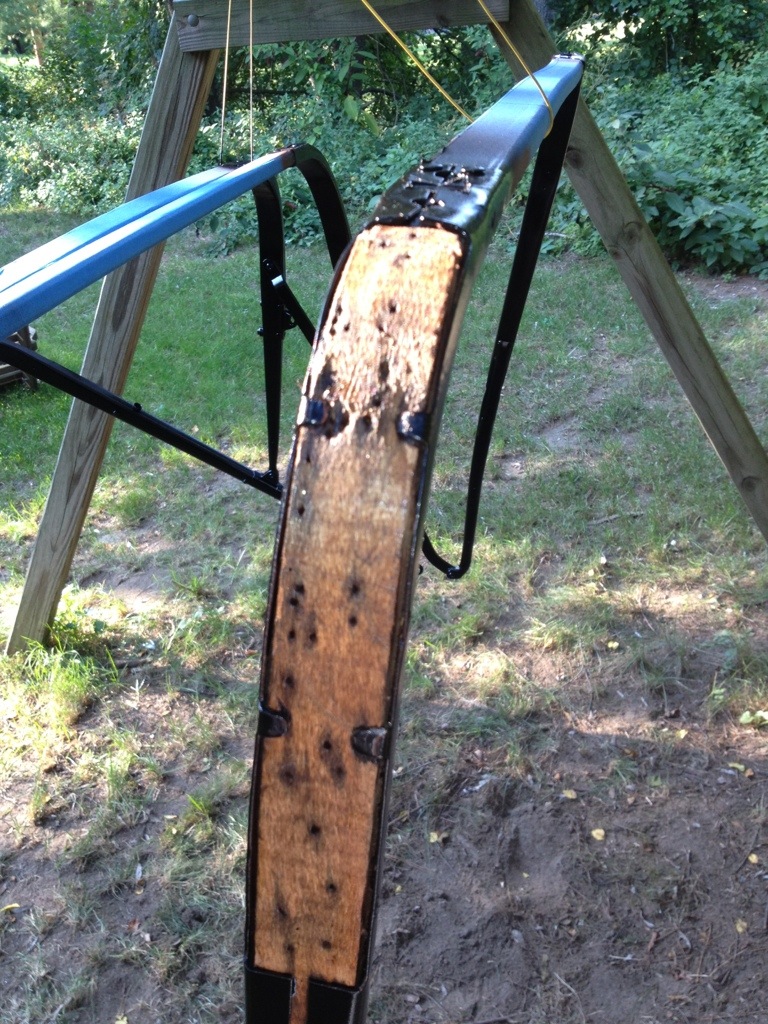
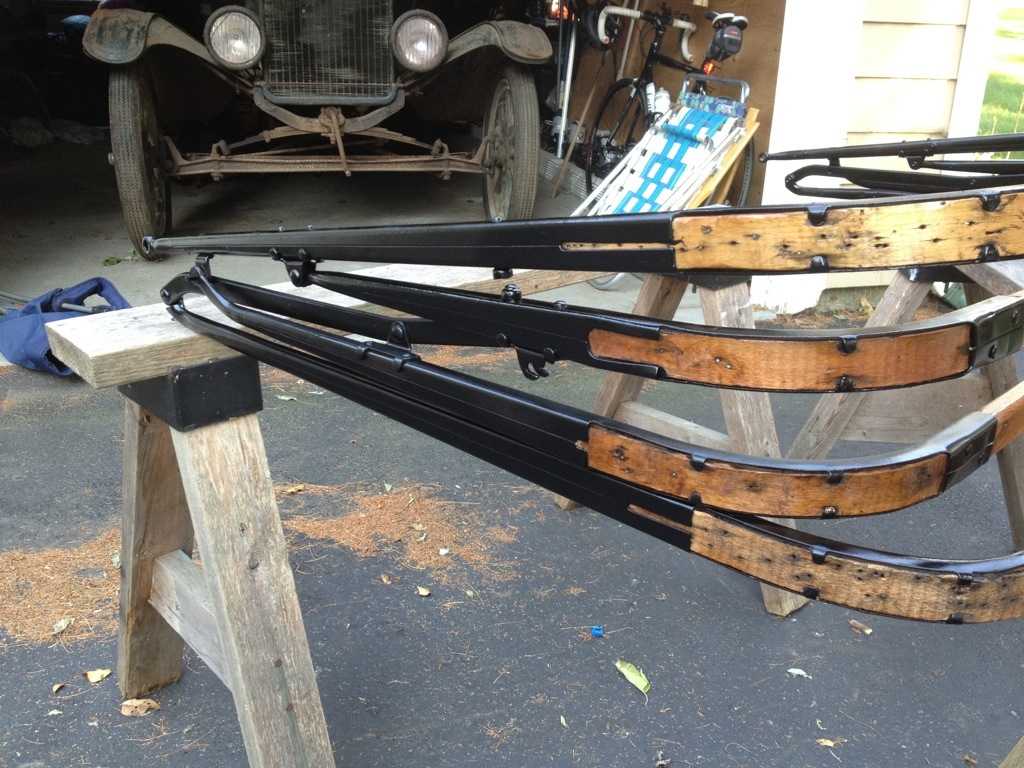
Like most of the other fabric, the convertible top is rotted and useless. But the metal and wood bows are in good shape – save a little surface rust. They were taken to Meredith New Hampshire to brother Dave’s blacksmith shop where a brace was welded onto a weak spot and lots of wire brushing with a grinder got them looking much better.
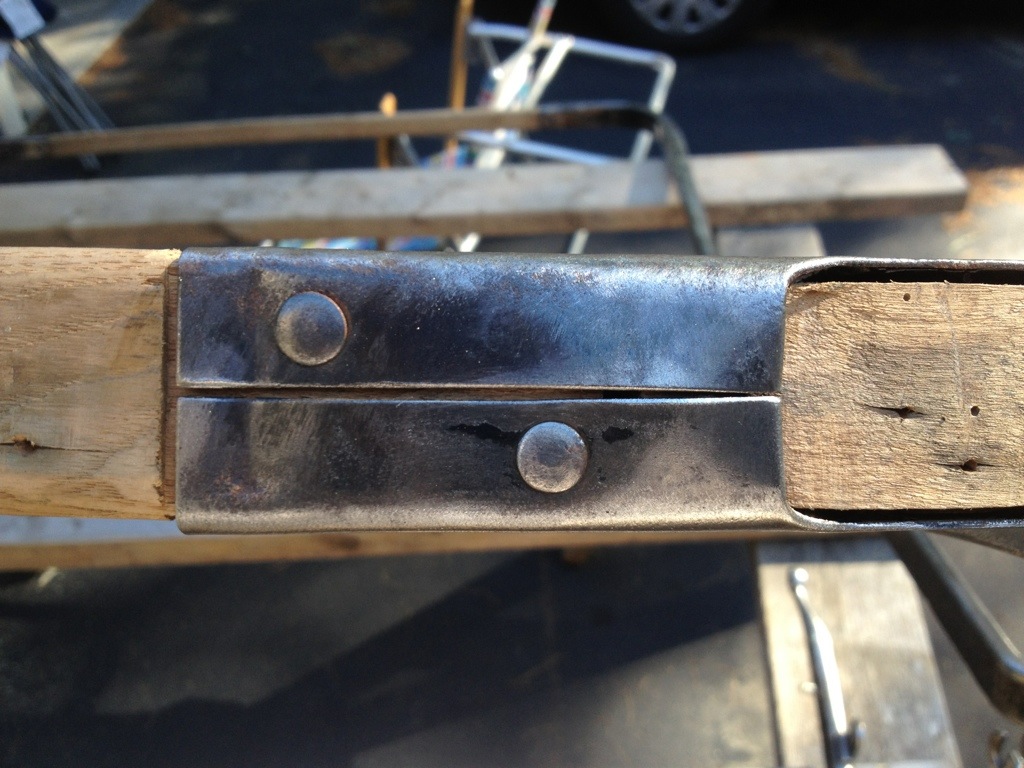
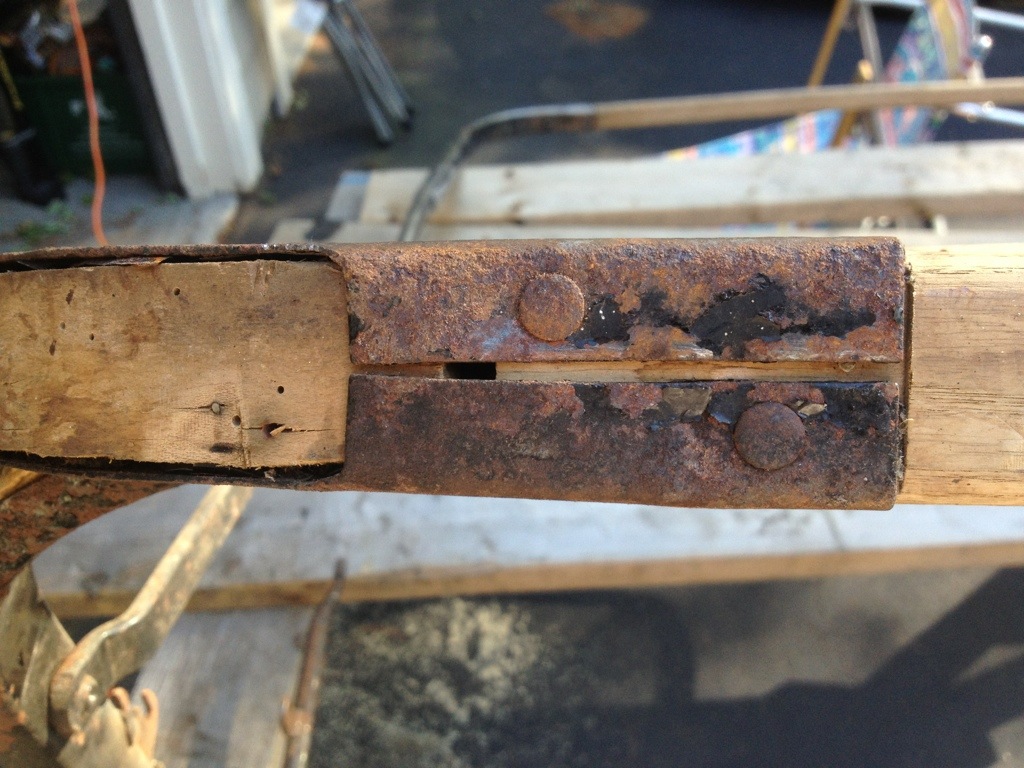
After and before…. It’s amazing what a grinder with a wire brush can do.
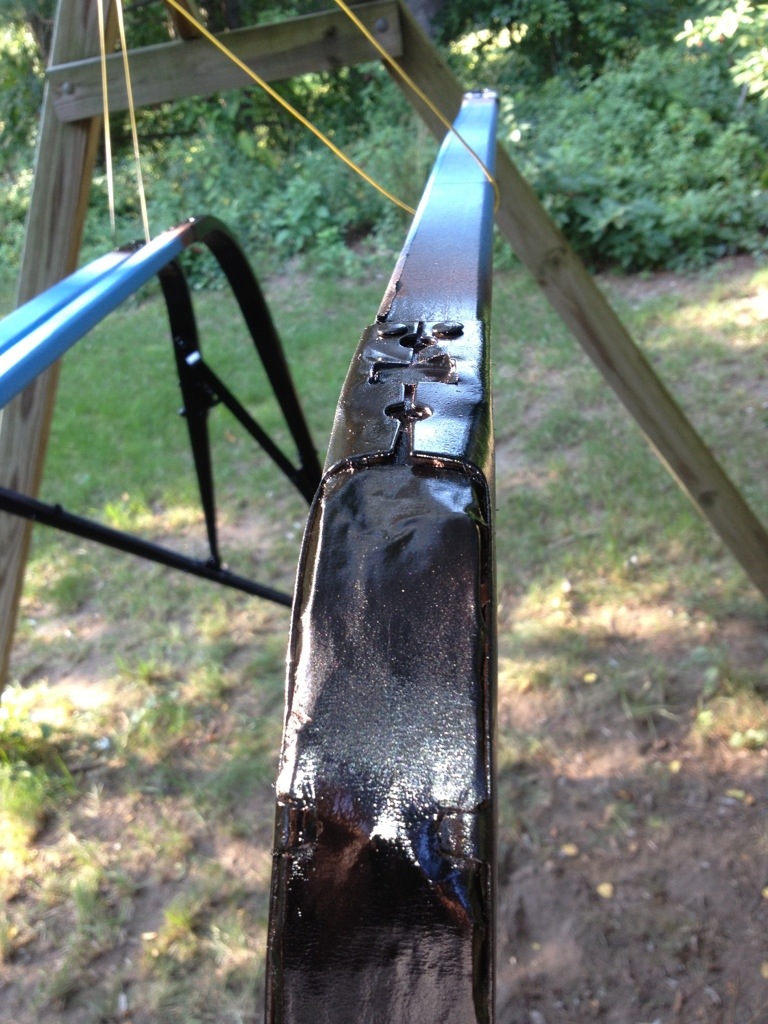
Two coats of rusty metal primer and two coats of glossy black enamel and they look good as new!
So… this will hang in the garage until we can purchase a new, top fabric kit and we’ll be all set on rainy days!
The beginning of the restoration started today. I began with removing some very rusty nuts and bolts in an effort to remove the fenders and running boards. The right rear fender came off okay but it will take more work to complete the rest. The next step was to vacuum the interior and remove some of the old and rotted upholstery. This car has been a home for rats and mice for nearly 60 years. Thank goodness for the shop vac.
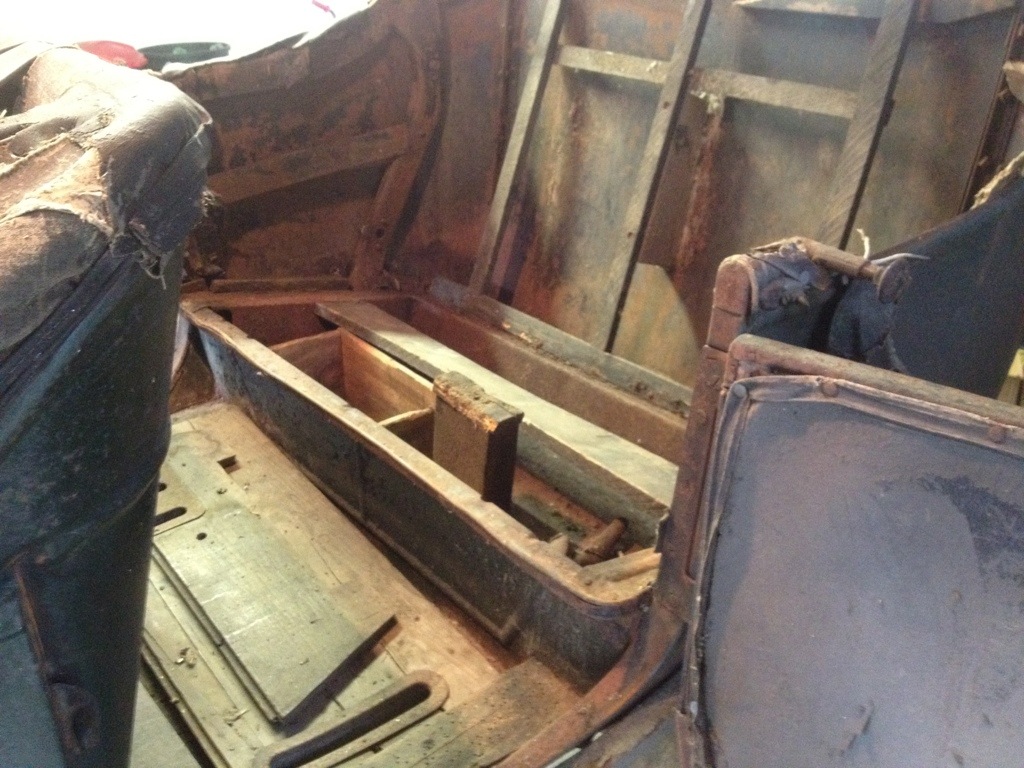
I heard a great story today. The photo above shows the front of the car looking down at the transmission. Henry Ford apparently had these transmissions built by an outside company that shipped them in carefully constructed wooden crates. On the assembly line, the transmission was hung by a chain that went through the crate. The crate was removed and saved, for after the transmission was installed its wooden crate became the floorboards – cut perfectly with holes for pedals, and access to the battery in back!!
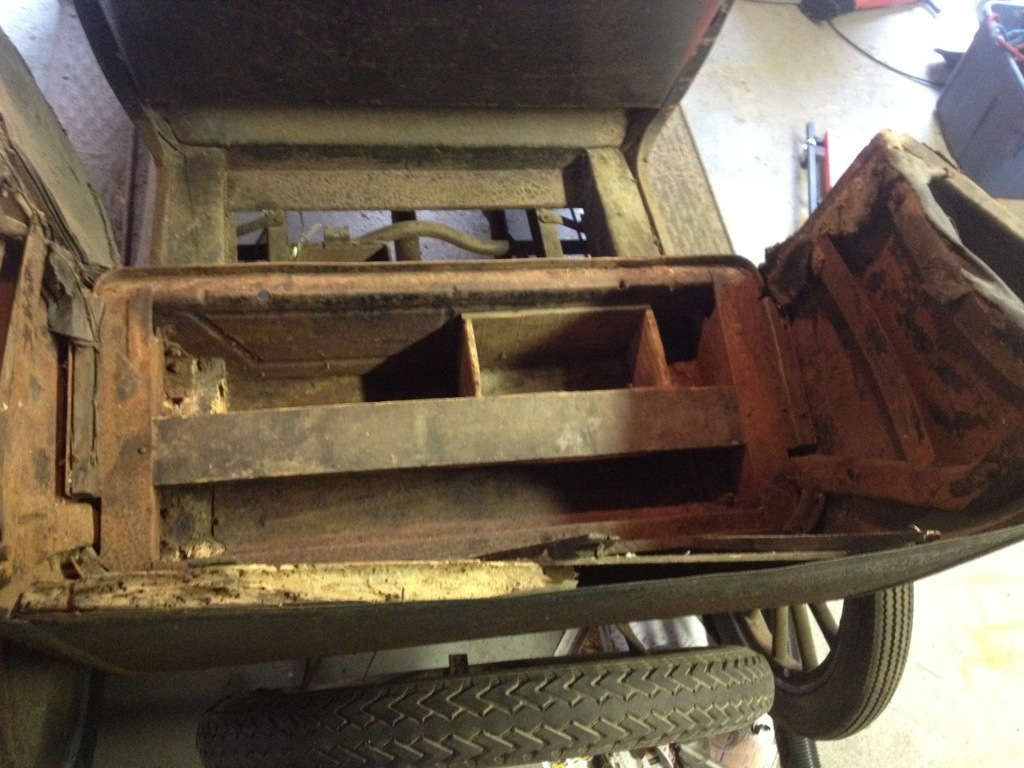
You can see the front floor boards (transmission crate) above – stored temporarily in front of where the back seat goes. I will save these!!
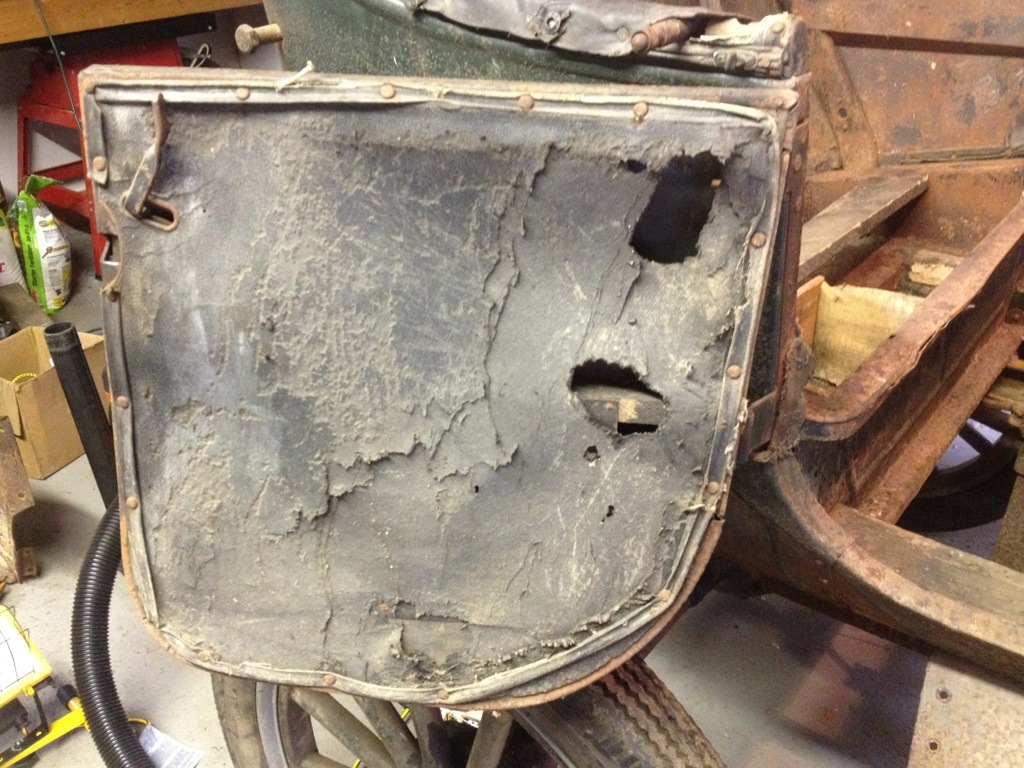
You can see by the two pictures of the upholstery on the rear door where the mice had chewed through and then lived inside. I think this car will be pleased to be used by humans again!!
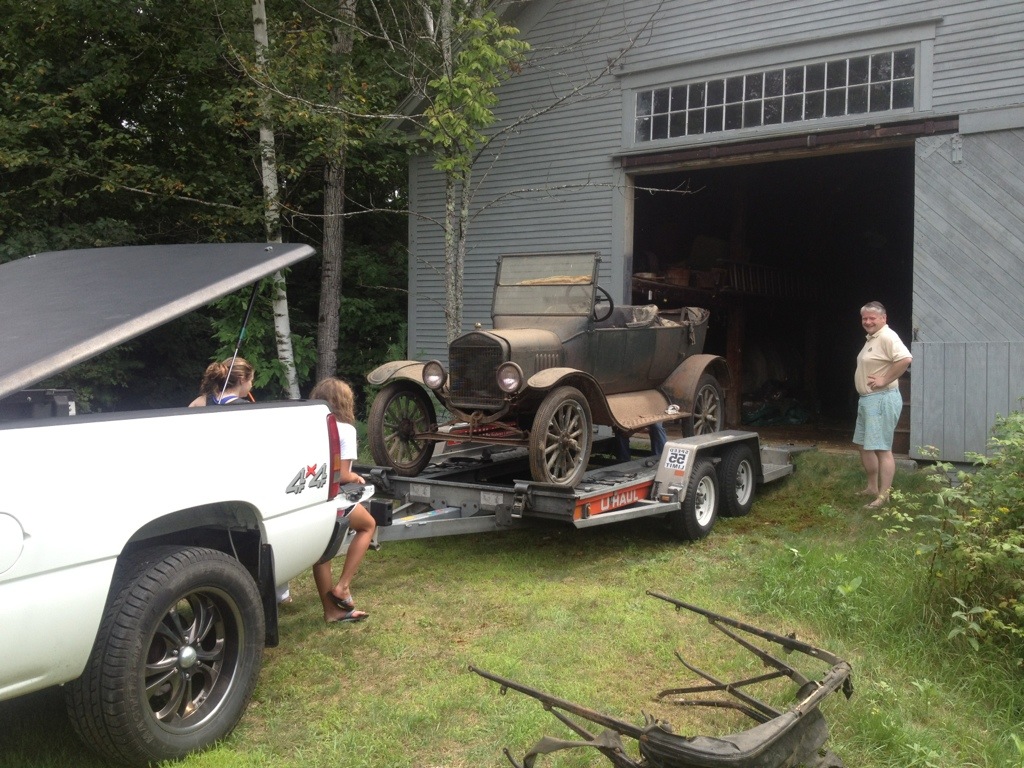
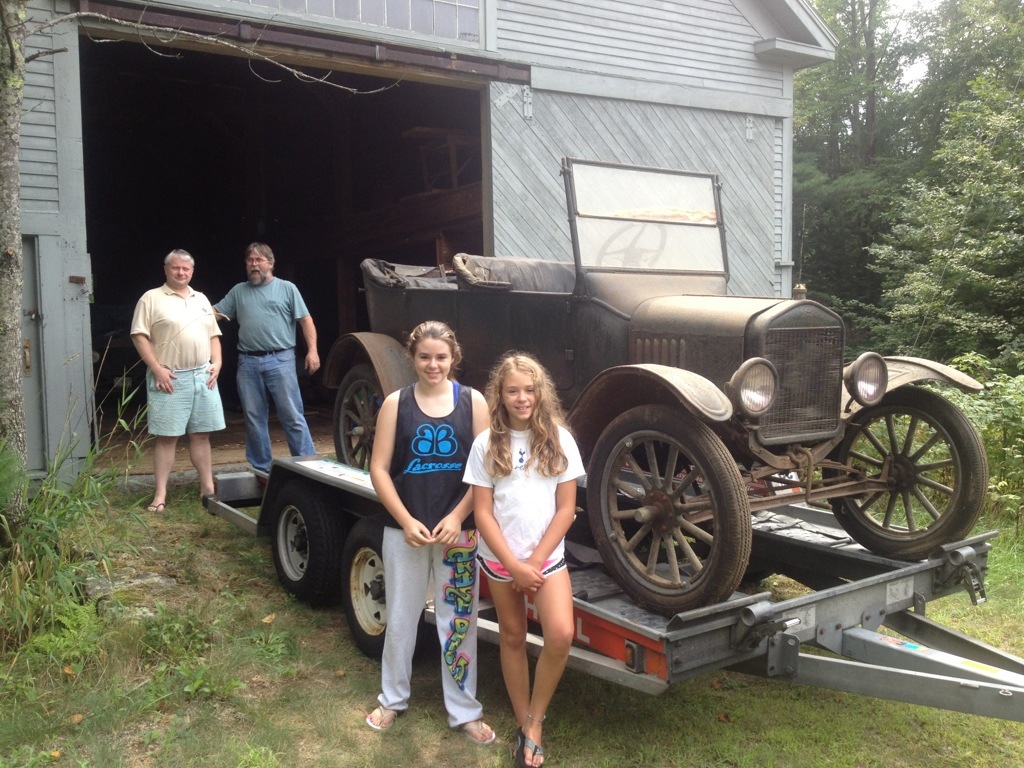
When the trailer arrived, there were plenty of folks on hand to lend a hand. With four good tires (only 25 yrs old) the pushing was easier. And the car was ready to head south.
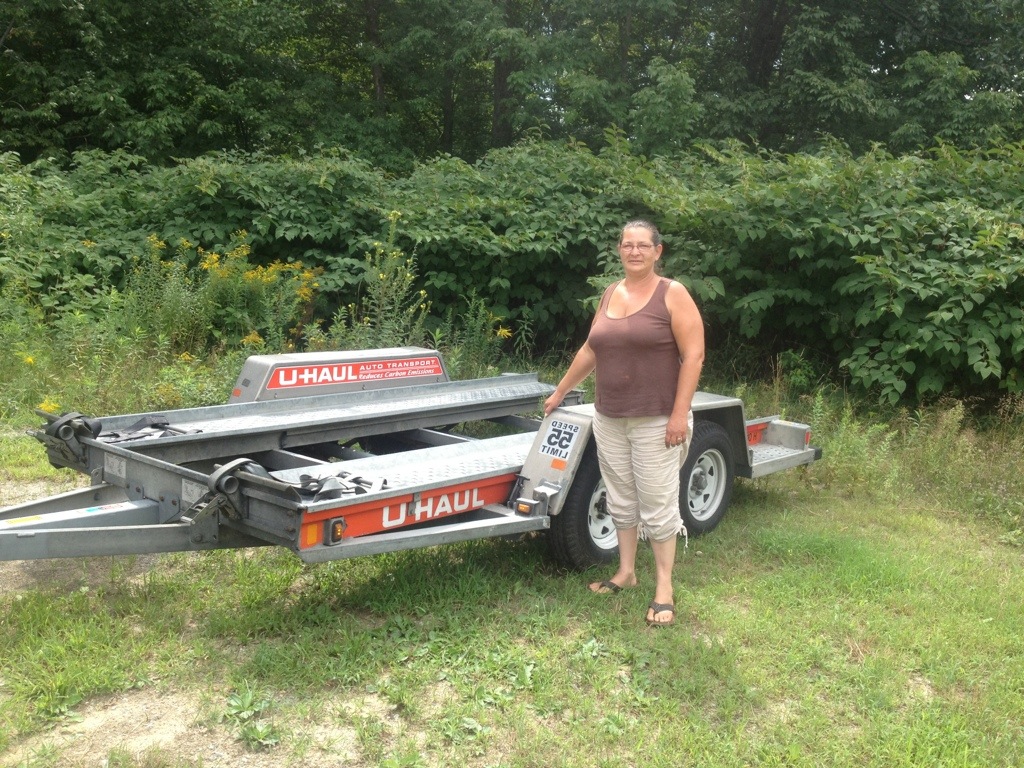
This is Starr. On August 13, 2012 she rented me a trailer from her lot in Tilton, NH. Using my brother Dave’s truck I U-Hauled it back to my uncle’s barn in Meredith. Starr is a nice woman – and she knows trailers!


 The windshield was next. Above you can see the two square holes where carriage bolts were used to attach the windshield frame. Below Lenny and Mike are working to remove the frame. You can also see that the firewall has been unbolted from the cowl. The box you see is where the coils go. The controls from the dash board are sitting in the coil box. I’m not sure where the CD player and integrated GPS went…